I started figting rapier in the late fall of 2016. It was my wife's way to get me involved in this wonderful society that she found and enjoyed. I quickly fell in love with rapier fighting, and so the race to get my own gear began. My wife, who went to college for fashion design and specialized in historical costumes, is more than qualified to outfit most of my stuff. She even went as far as learning to make leather gloves for me. The last piece for my kit was my sword. She worked hard and was able to aquire a basic Zen sword as a Christmas present. I was very happy with the sword but as I learned more about fencing I started to plan "My Game." I'm not your average fencer build at over 6 Ft and 300 lbs. Most people expect to find me on the heavy field but I'll leave that to the wife. With my large size I knew I could not keep up with the little fast guys and needed to find a way to use my strength to my advantage. One of my early experiences was with one of the leaders at my local practice who also is a larger guy and uses a sword considered too heavy for most. It's 40+ inches with a very hefty guard, handle, and pommel. I've also watched a few other larger guys be very successful with larger blades and decided this was something worth trying.
My plan was to go to Pennsic and check out all of the blades for sale there and make some final decisions. I knew all of the major players and what they offered but wanted to make sure I didn't miss anybody. After a very disappointing showing of vendors at Pennsic I came home and ordered my 45" Standard Castillle blade. I originally was looking for a 48", the current maximum length in the East, but had trouble finding it in a blade I liked. I finally settled on the 45" instead. I also had plans to build my own guards but more on that later. Right after my new blade came my Zen decided to break. I found myself in a pinch and quickly started working on modifying my Zen guard to fit my Castille blade. Money was tight so I couldn't go out and buy a new guard, I had to made due with what I had.
One thing I noticed as soon as I got my blade is a few key differences in the design of the two blades. The Castille have a very short threaded bar for the handle and expect part of the hande to extend up into the square tang section. This makes it stronger than the Zen but also makes the guard and handle not fit. I started by making a handle. I took a 1 in oak dowel and started shaping it on the band saw and sander. I'm still testing exactly what I want for a handle but the current variation is comfortable and can be made to look pretty with just a little bit of stain or a leather covering.

The biggest problem was modifying the Guard. I found that Zen and Castille designs were different and effect how a blade is measured. Castille sent me this on how their blade is designed. Notice the short threaded tang section which is less than two inches and then a thicker tang section going up to the tang shoulder. Castille expects your guard to go all the way up to tang shoulder and cover over the ricasso section.
 |
| Before modifying guard. |
Zen does their guards very differently and the top of their guard stops at the tang shoulder and they have a very long threaded tang. This meant my guard would only go on about 2 inches as is. I used a dremel to enlarge both holes on my guard and eventually got a good fit. It was more difficult than I thought because the metal was harder then expected. I eventually used a couple of Dremel bits to get it to fit. I tried drilling with a drill press but it just laughed at every drill bit I tried.
 |
| Blade side hole |
The blade side hole needed to be widened just slightly. The handle side hole was simply a round whole just big enough to pass the M6 threaded bar. I had to turn it into a slot the same size as the top hole.
 |
| handle side hole |


Once I got the guard holes expanded it fit nicely on the blade but because I stayed with the Zen design, the top of the guard stopped at the tang shoulder, instead of the middle of the guard going to the shoulder. This means my threaded tang was still too short and had to be extended. I ordered some M6 threaded bar from Amazon (Home depot doesn't stock it) as well as M6 couplers.
The final outcome worked out well for me. I ended up with a blade that is just over 47" and not much heavier than my 37" Zen.

I'm still not completely satisfied with the handle so I'm still testing out different styles until I figure out what I want. For now oak handle quickly shaped is working for practice. I also hope to start making my own guards this winter to make it even more my own weapon. Even with making my own guard I plan on keeping the 47" design.
 |
| The final product. |
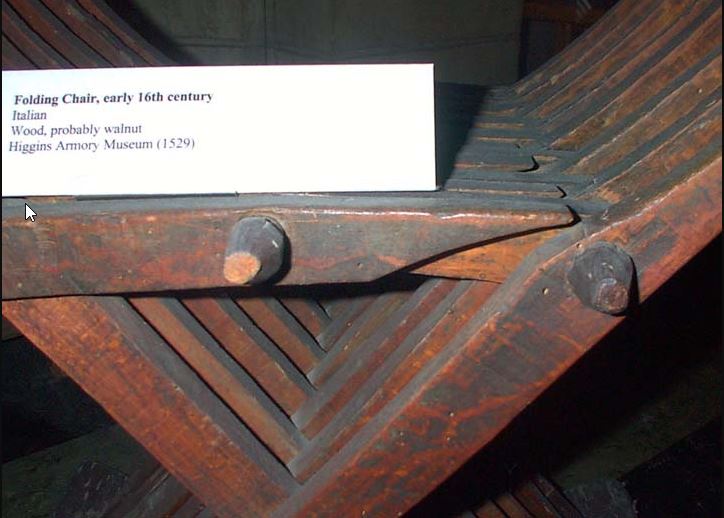
 Once I had a rough idea on what I wanted to do I started by comparing their design with extant pieces. I was pleasantly surprised how easy it was to find examples. The first one I found is in the Higgins Armory Museum dated at 1529.